Leveling Up CSS Skills and How Grid with Better Habits Changed the Game
Hey everyone! After wrapping up the Ruby section which I talked about in my last article I jumped straight into the “Intermediate HTML and CSS” lessons.
Honestly, I wasn’t exactly sure what was waiting for me, but I knew CSS Grid was probably going to be the biggest new thing I’d learn from this part of the course.
If you’ve followed my articles before, you know I always track how many hours each section takes. Surprisingly, this one was pretty short compared to Ruby or even Foundations, but it was still a lot of fun. Overall, it took me exactly 211.5 hours, spread out over 73 days, from 4th May 2025 (when I finished Ruby) to 16th July.
We kicked things off with Emmet, which, funny enough, I was already using without realizing it. Back when I was stuck in “tutorial hell,” I used to copy everything from JS videos without knowing that handy shortcut even had a name. Well, now I officially know what I’m doing with Emmet!
Next up were SVGs and tables. SVGs weren’t too bad, but tables gave me a bit of a headache. It took me a few solid hours to really wrap my head around them. But don’t worry, after some practice and a few good articles, things started clicking into place.
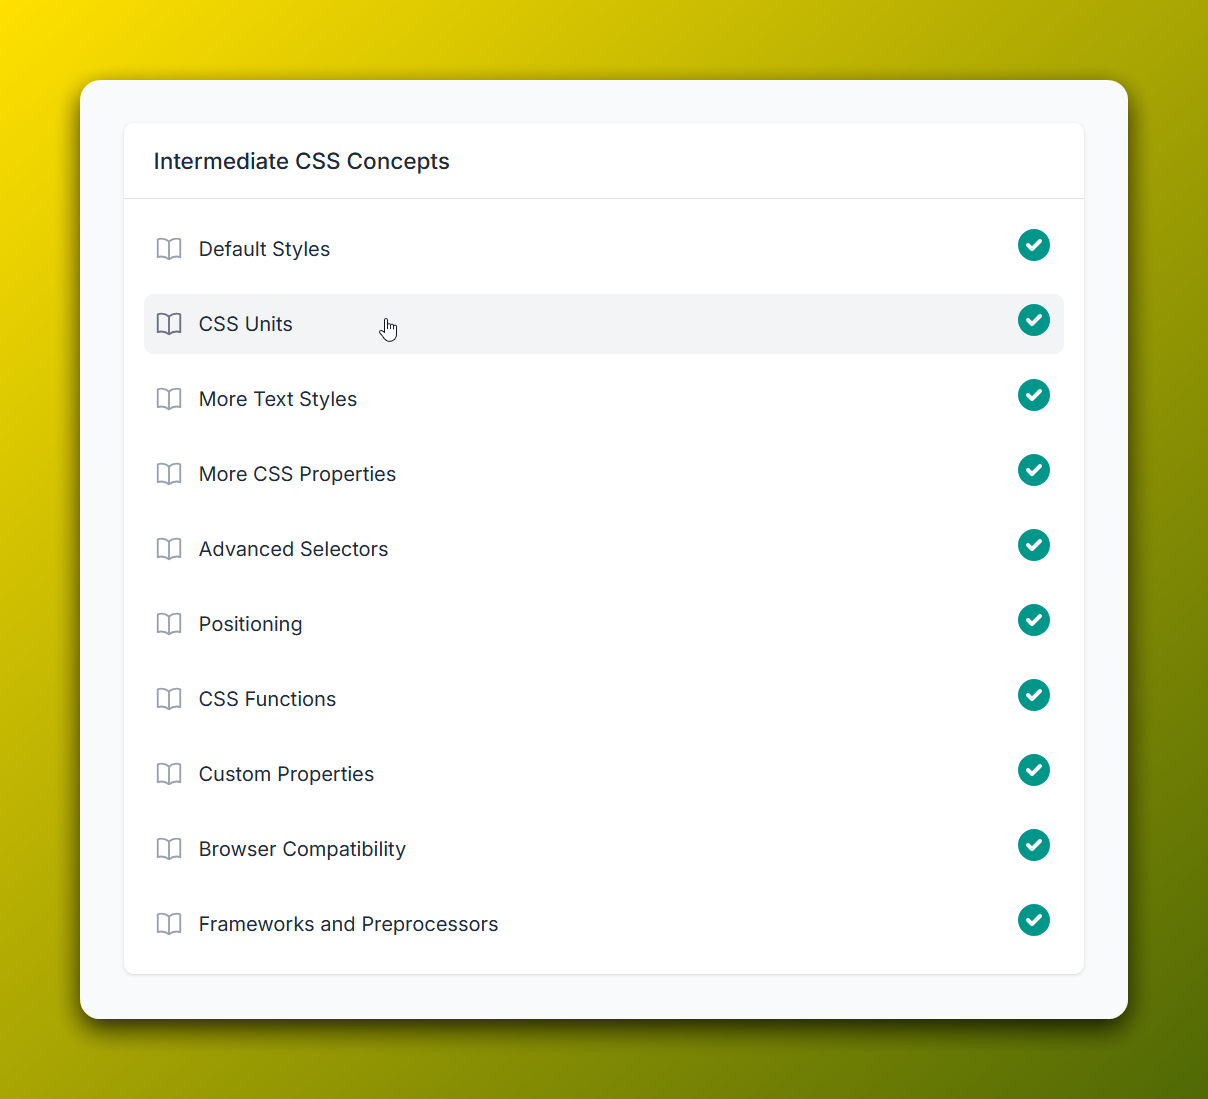
Then came the intermediate concepts, stuff like CSS units, advanced selectors, and CSS functions. There was definitely a lot of reading, but at this point in the course, things felt way easier to grasp. The trickiest part by far was CSS positioning.
Trying to learn positioning just from reading articles was a challenge, but luckily, the next project, Sign-Up Forms, gave me plenty of hands-on practice.
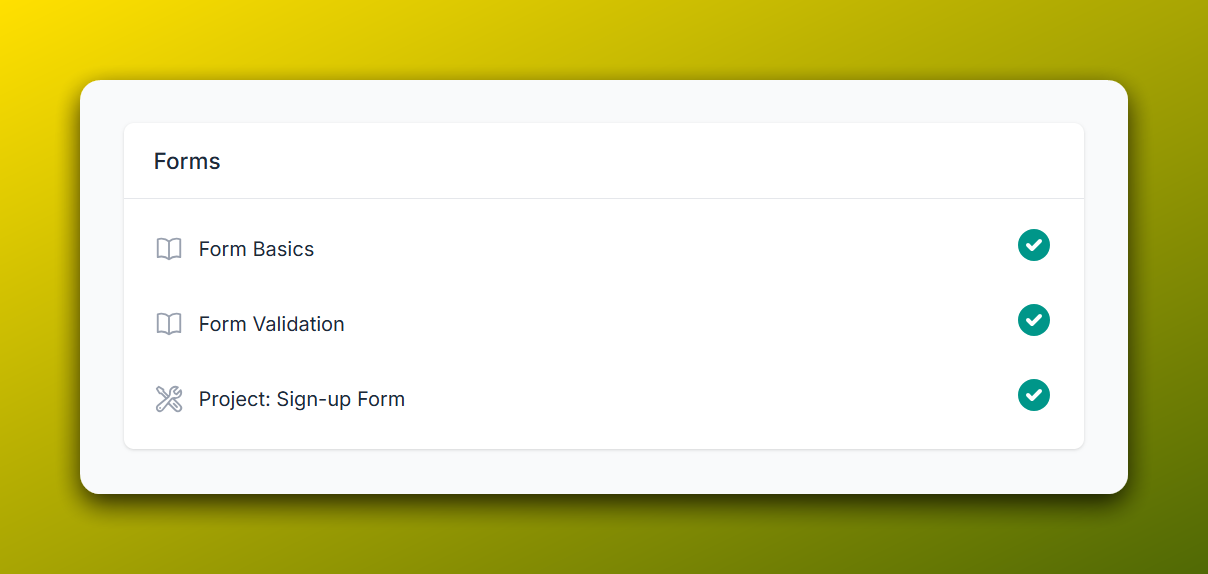
Speaking of the Sign-Up Forms project, don’t let the short lesson count fool you. Even though there were only two lessons, they took me twice as long as the entire previous section.
Seriously, you’ll have tons of resources to dive into, but believe me, it’s worth reading them all. Forms are a huge topic, super customizable, and everything you learn there connects deeply. If you’ve been with The Odin Project for a while, you probably already know how this goes!
You can check the code of my implementation of the sign-up form here if you’d like.
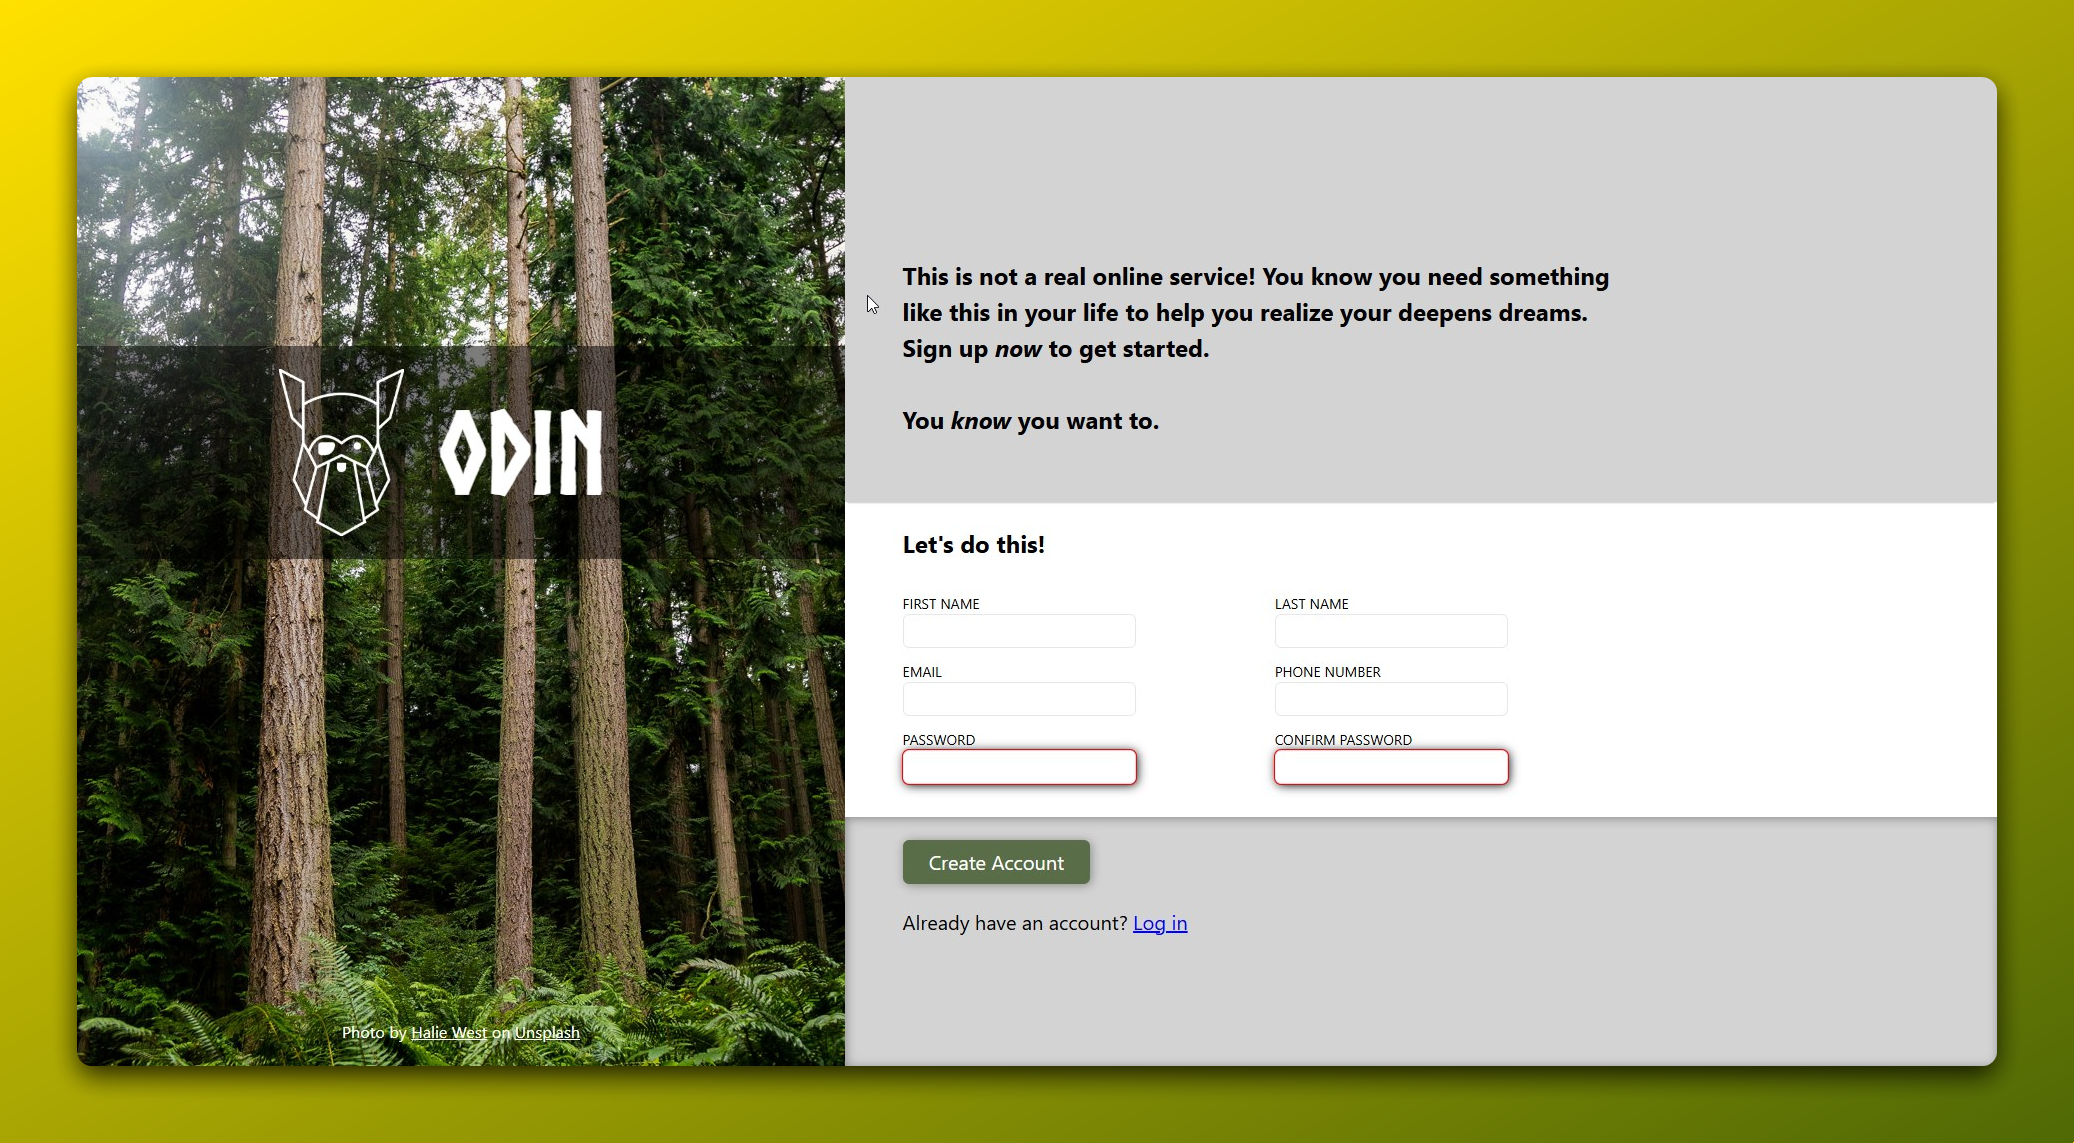
Doing this project was refreshing because we hadn’t touched front-end stuff in a long time. It was also a perfect opportunity to practice CSS positioning. Initially, I positioned the left side of the form with positioning techniques, but I didn’t love how it looked when resizing the page.
So, I went back to good ol’ flexbox. Honestly, flex just felt easier for me. But hey, if you figure out a clean way to do it using positioning, let me know. I’d genuinely love to see how you pulled it off!
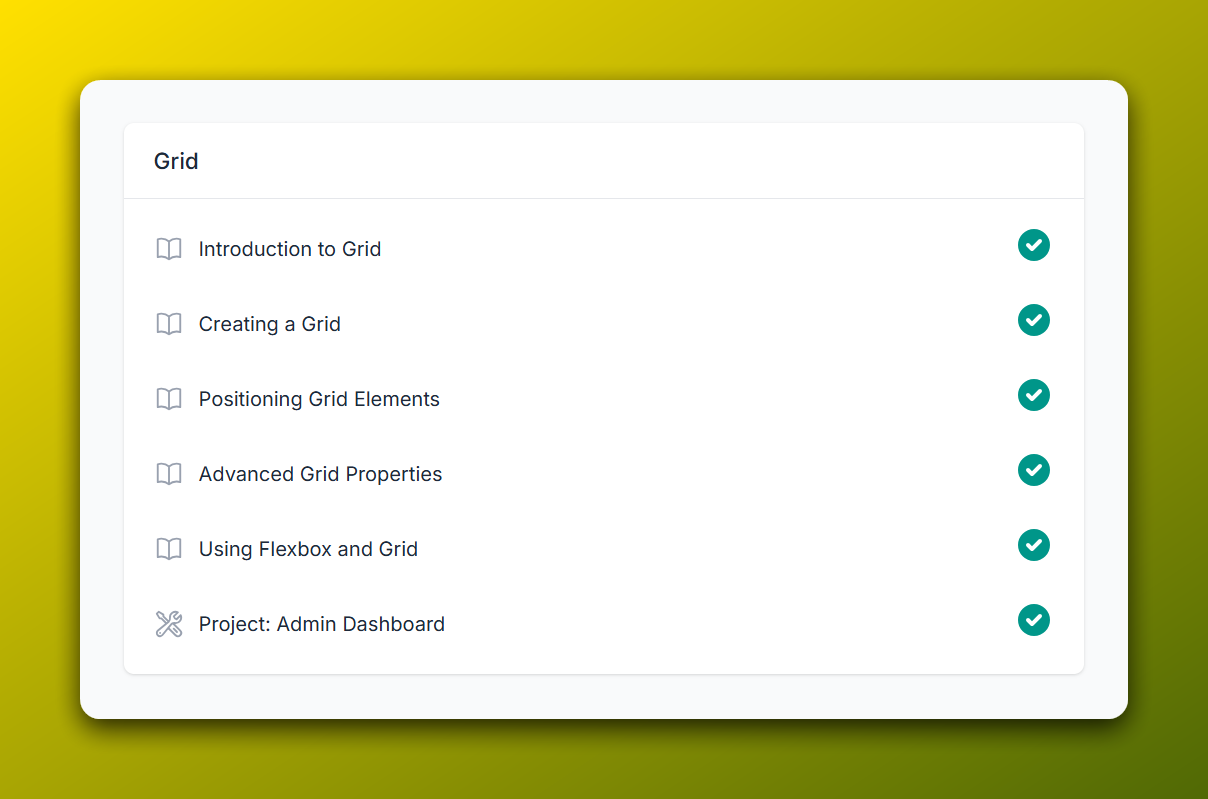
And finally, we hit Grid! I had a great time with these lessons. They included a quick flexbox refresher (just in case you forgot!) and plenty of explanations comparing flexbox and grid, when to use each one, and why. Grid turned out to be pretty easy to understand, and honestly, I think everyone following Odin had been eagerly awaiting this moment.
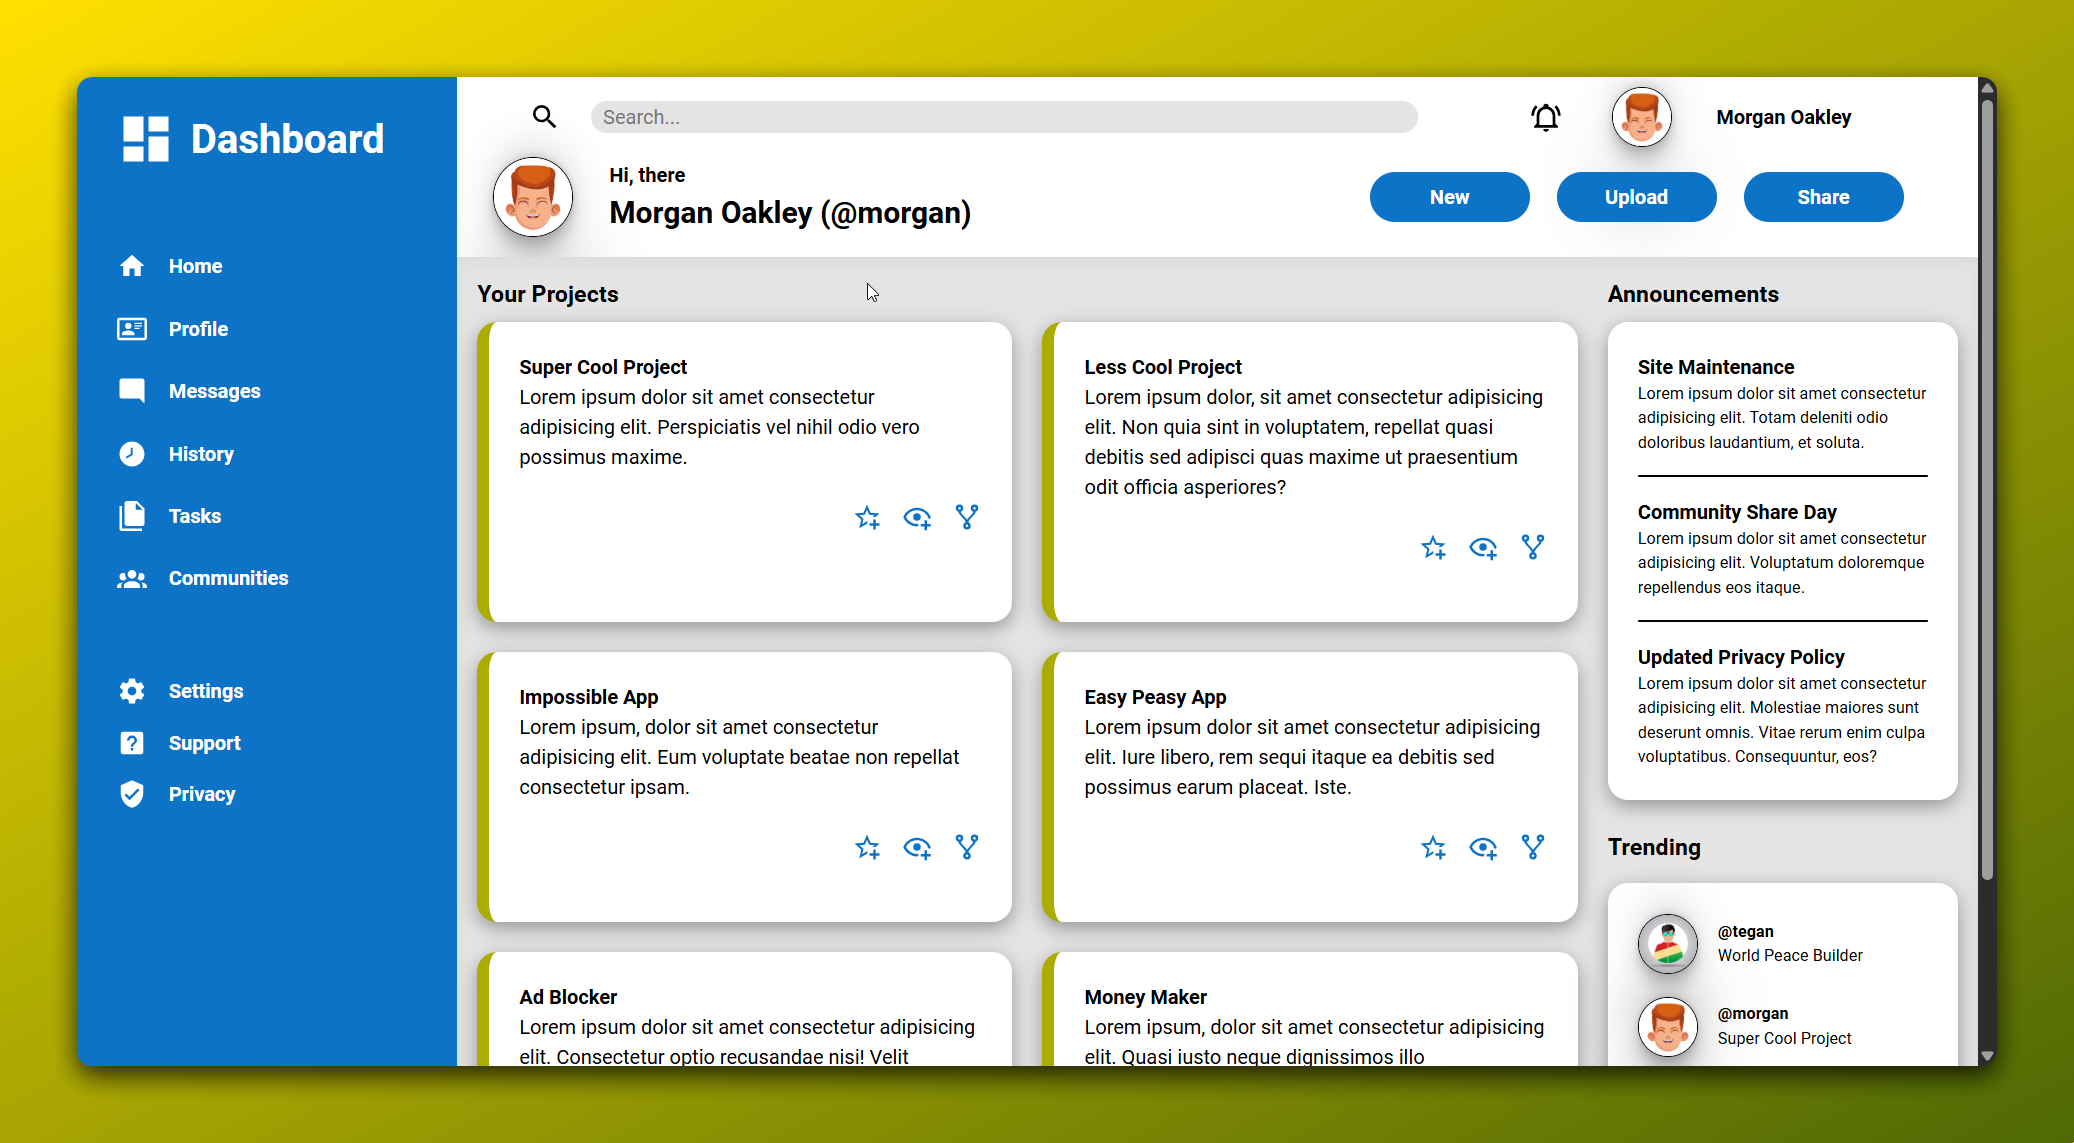
Click here to view my implementation of the dashboard project.
Wrapping It All Up
Before I finish, I just wanted to share something I’ve noticed lately: changing my learning routine has seriously boosted how well I understand the material. Instead of cramming everything into one session, I split my learning into three shorter sessions each day. Suddenly, the projects at the end of each section started feeling way easier, and I didn’t have to constantly revisit past lessons just to remember how something worked.
It sounds obvious now, but it wasn’t until recently that I realized how powerful it is to read several articles about the same topic back-to-back. Call me slow, but better late than never, right? If you can, definitely give this three-session approach a shot, I totally recommend it!